Preserving Your Digital Images
graphic courtesy of Professional Photographers of America
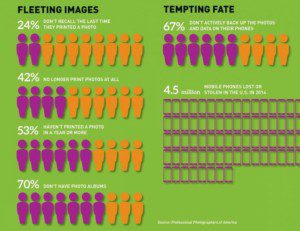
I was shocked by a graphic that appeared on my Facebook wall recently. The graphic broke down the percentages of people
who print and back up their digital images. Well, take a look for yourself.
The idea that people don’t print photos anymore was just so surprising. The idea that for all of the photos that we take- the selfies, the snapshots, the portraits, over 50% of people in this survey had not printed an image in over a year.
How is it possible that the most photographed generation is going to be without printed photos of themselves? That the snapshots of their lives are going to wind up in the cloud (if they’re lucky) or just disappearing.
The start of a new year is the time to make resolutions and the time to organize. What better time to tackle your personal photos!
I thought I would share my process for organizing, printing and backing up my digital images.
Hang in there- this might be a longer post but there’s a coupon code at the end for prints!!!
Step 1: Organize!
Every January, I start the year by getting myself ready for new photos. Because I take almost as many personal photos
as well as business photos, I have to stay on top of my images. This is actually pretty simple to do. I use a program called Lightroom to keep my digital images organized.
Each year I create a catalog and within the catalog, I have a folder for all of my client photos and a folder for my personal photos. This year, I’m trying something different and setting
up a separate catalog for business and personal. (I’ll let you know next January how it works).
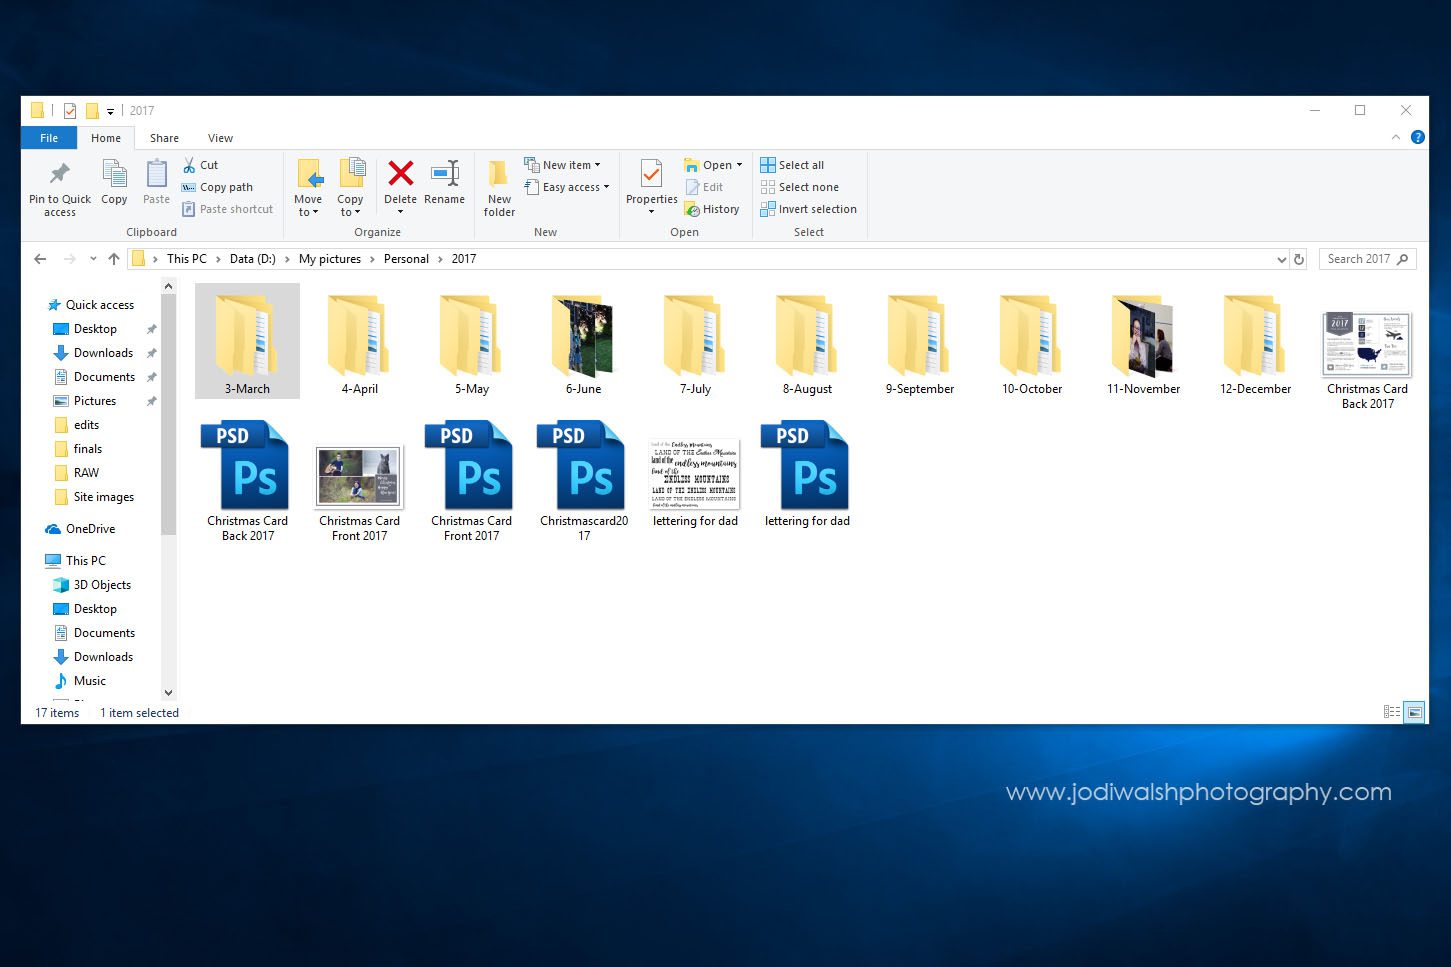
Next within each catalog, I set up a folder for each month- 01 January, 02 February, and so on. The numbers keep the folders in order for the year (instead of alphabetical). Then for my personal photos, I’ll put my images into the month that they’re taken. I usually put them in a folder that is related to what I’m capturing- sledding, last_day_of_school, vacation…. I also like to make a separate folder for my phone images.
If you use Lightroom, my friend Heather Lahtinen from the Flourish Academy has a great video for setting up catalogs in Lightroom! Just click the link and click yes for her video on organizing your photos.
If Lightroom isn’t your thing, there are also free programs that you can use too. Before Lightroom, I used Picasa to organize my images and I still have it set up for my dad to use with his images. It’s a great little program. And if you don’t want to mess with all of that, you can simply create these folders directly on your computer. So simple!
Step 2: Archiving!
So you have your folders ready to go. Now it’s time to formulate your back up plan. Yes, it really is a back up plan for just in case that device your on crashes! We’re lucky to live in a day where our devices are pretty reliable but nothing is 100% and it’s still very important to make sure that you are saving your files. I recommend having at least 2 sources for backing up your images. And at least one of those should be off-site.
My system includes an external hard drive in my office and a cloud backup online. When I take photos for a client session or for personal images, I import the files from my memory card onto my desktop. Then I back them up by saving them onto my external hard drive. This doesn’t happen automatically. I have to do remember to do it but there are options that automatically backup your devices (like Backblaze). That’s a good option if you don’t do this very often.
Next, I’ll edit the images I want to keep and once a month, I upload those images to my online storage (I use Smugmug). This just allows me to have a second place for my images both client and personal in case something was to happen to my hard drive.
But what about those cell phone images? I have to admit, this is where I struggle the most. I take random snapshots and videos with my phone and the next thing I know, my memory is full and I’m having to delete in order to free up space. My 2018 resolution is to schedule a time once a month to clear my phone images. It’s easy enough to do. I have a dropbox account and just use the dropbox app on my phone to upload my images. Then when I’m at my desktop, I can download them and sort them into my catalogs. Such a simple system! Hopefully, I can stick to it this year.
Step 3: Printing!
This is probably the most challenging part of the process and believe me, as a photographer, I know how hard it is. But it is so important to take time to print your photos! I’ve written before about how there is a permanence to the printed image and especially for children, seeing their photos around their home cements their position in the family. There are so many good things about having prints of your family! Just take time to do it!
For me, I love to print and fill frames with my images. I have one set of frames that I put updated portraits in each year. My kids get yearly portraits taken so they’re photos are always current but our family portrait is done every 2 or 3 years.
Then I have a few favorite images that I’ve printed on larger canvases. These are ones that I know I’ll always love and so they become the artwork for their space.
Finally, I have some albums that I try to fill regularly. This is where I struggle the most. It’s hard taking the time to choose the images, order the prints and then put them in the albums but it’s worth it. I’m also lucky in that I have a talented mother-in-law who scrapbooks and she has taken some of our family photos and created beautiful scrapbooks. I love it when my kids sit down and page through the books.
Where to print?
- MPIX– This is my go-to printer for filling albums. They’re connected to Miller’s Professional Imaging that I use for most of my client work. It’s a great company with great products at a reasonable price.
- Shutterfly– You may be surprised to hear that I use Shutterfly. I’ve been using them for years to print our family’s annual calendar and occasionally for personal books. I’ve always been pleased with their calendars. The books are alright but that’s only because I love the book I can order through Millers.
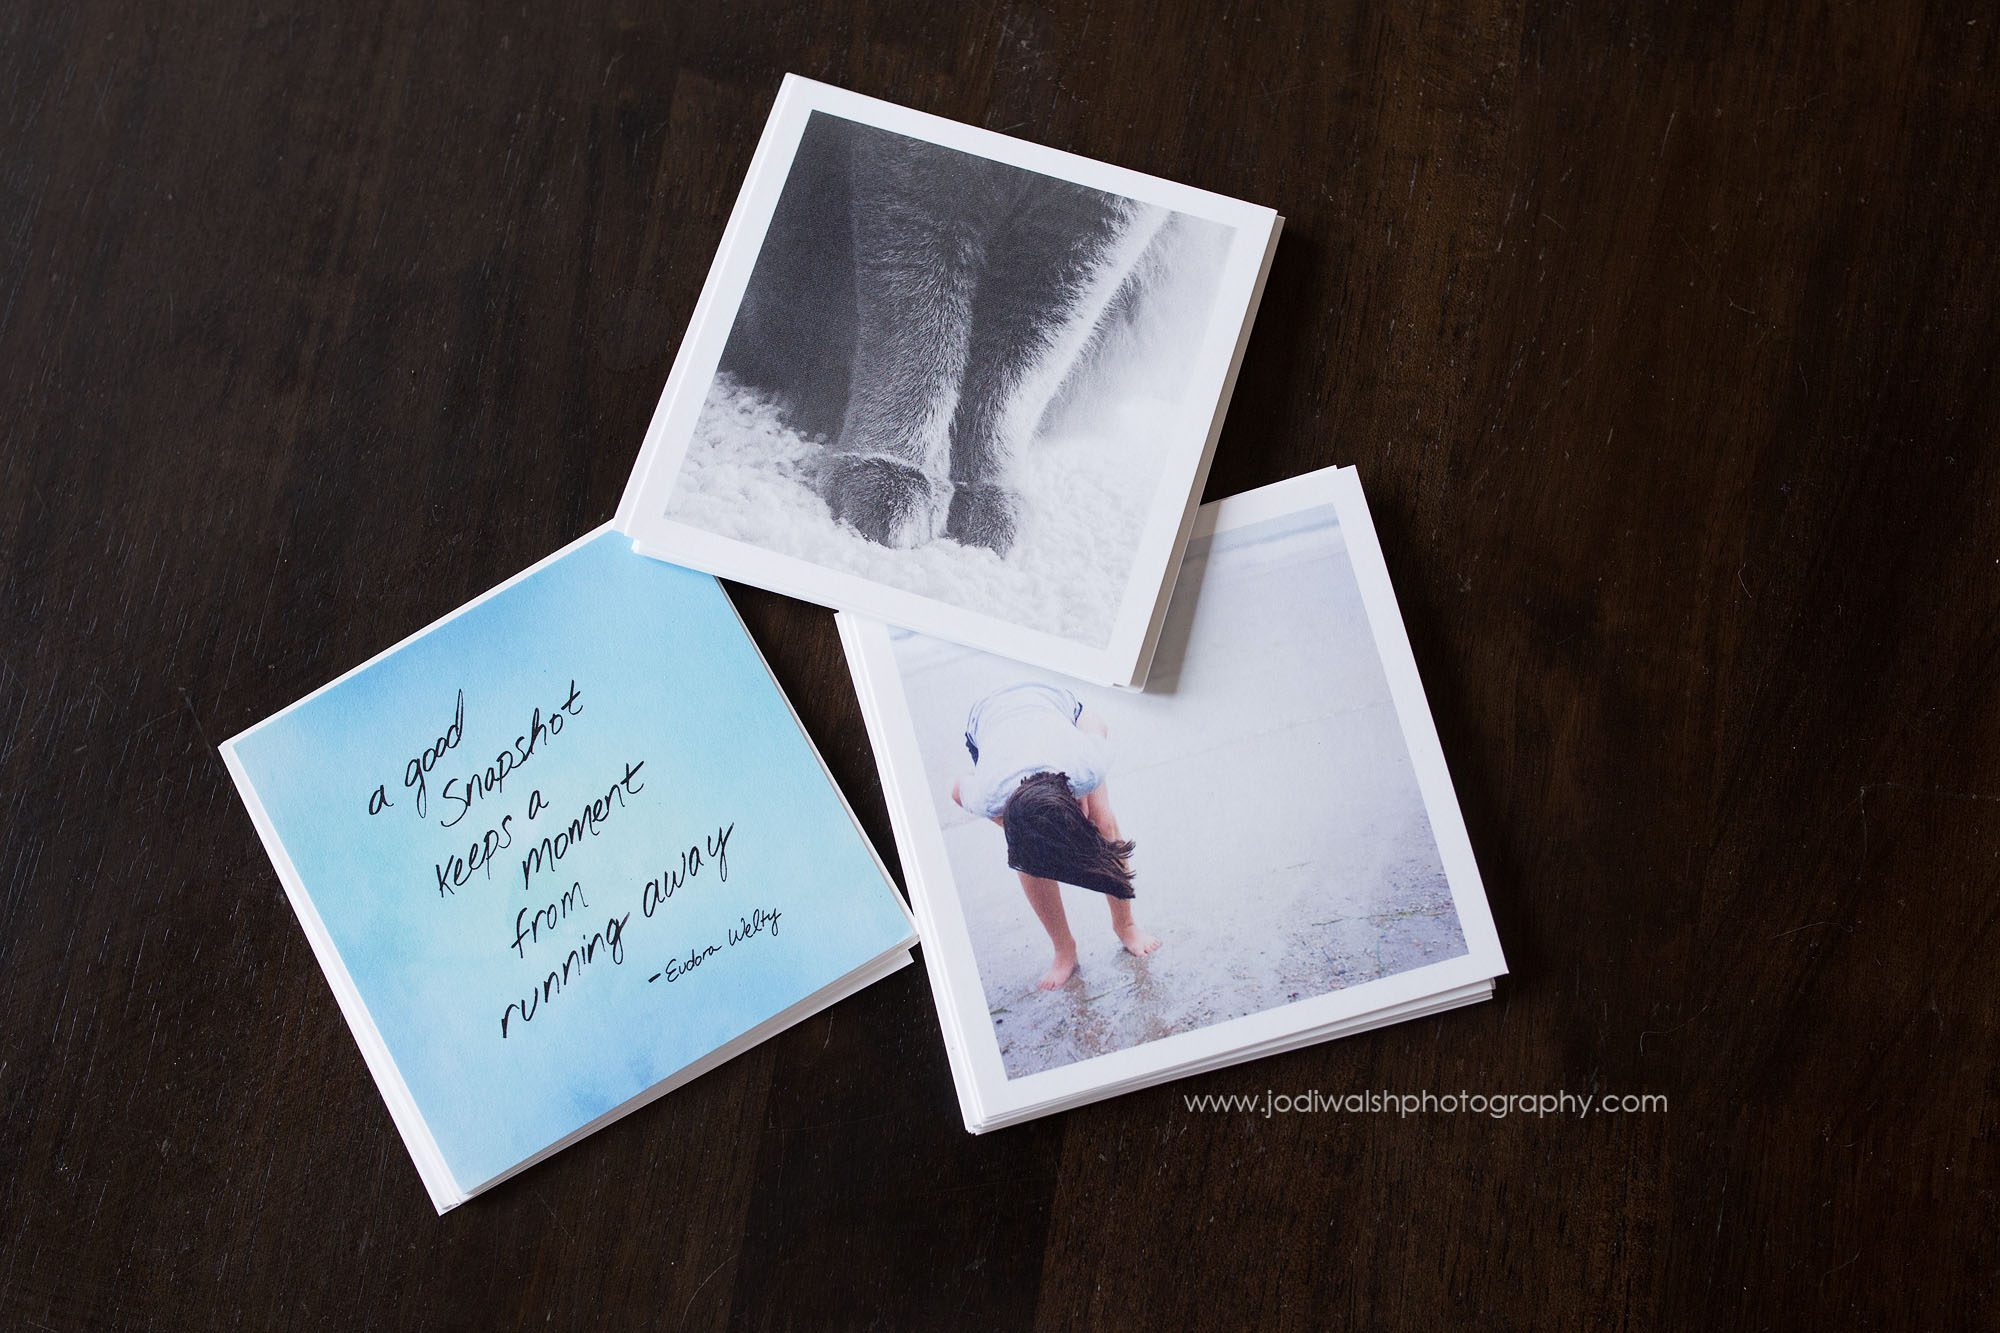
Parabo Press
And Parabo Press. This is a new place for me. Parabo let’s you print square prints from your instagram, facebook or computer. 25 prints for just the cost of shipping ($8). They also have a lot of other great products. I’ll definitely be using this site for some personal projects!
Use this coupon code to give it a try! LCRHEE
I got my first order just the other day and I was eager to put it up!
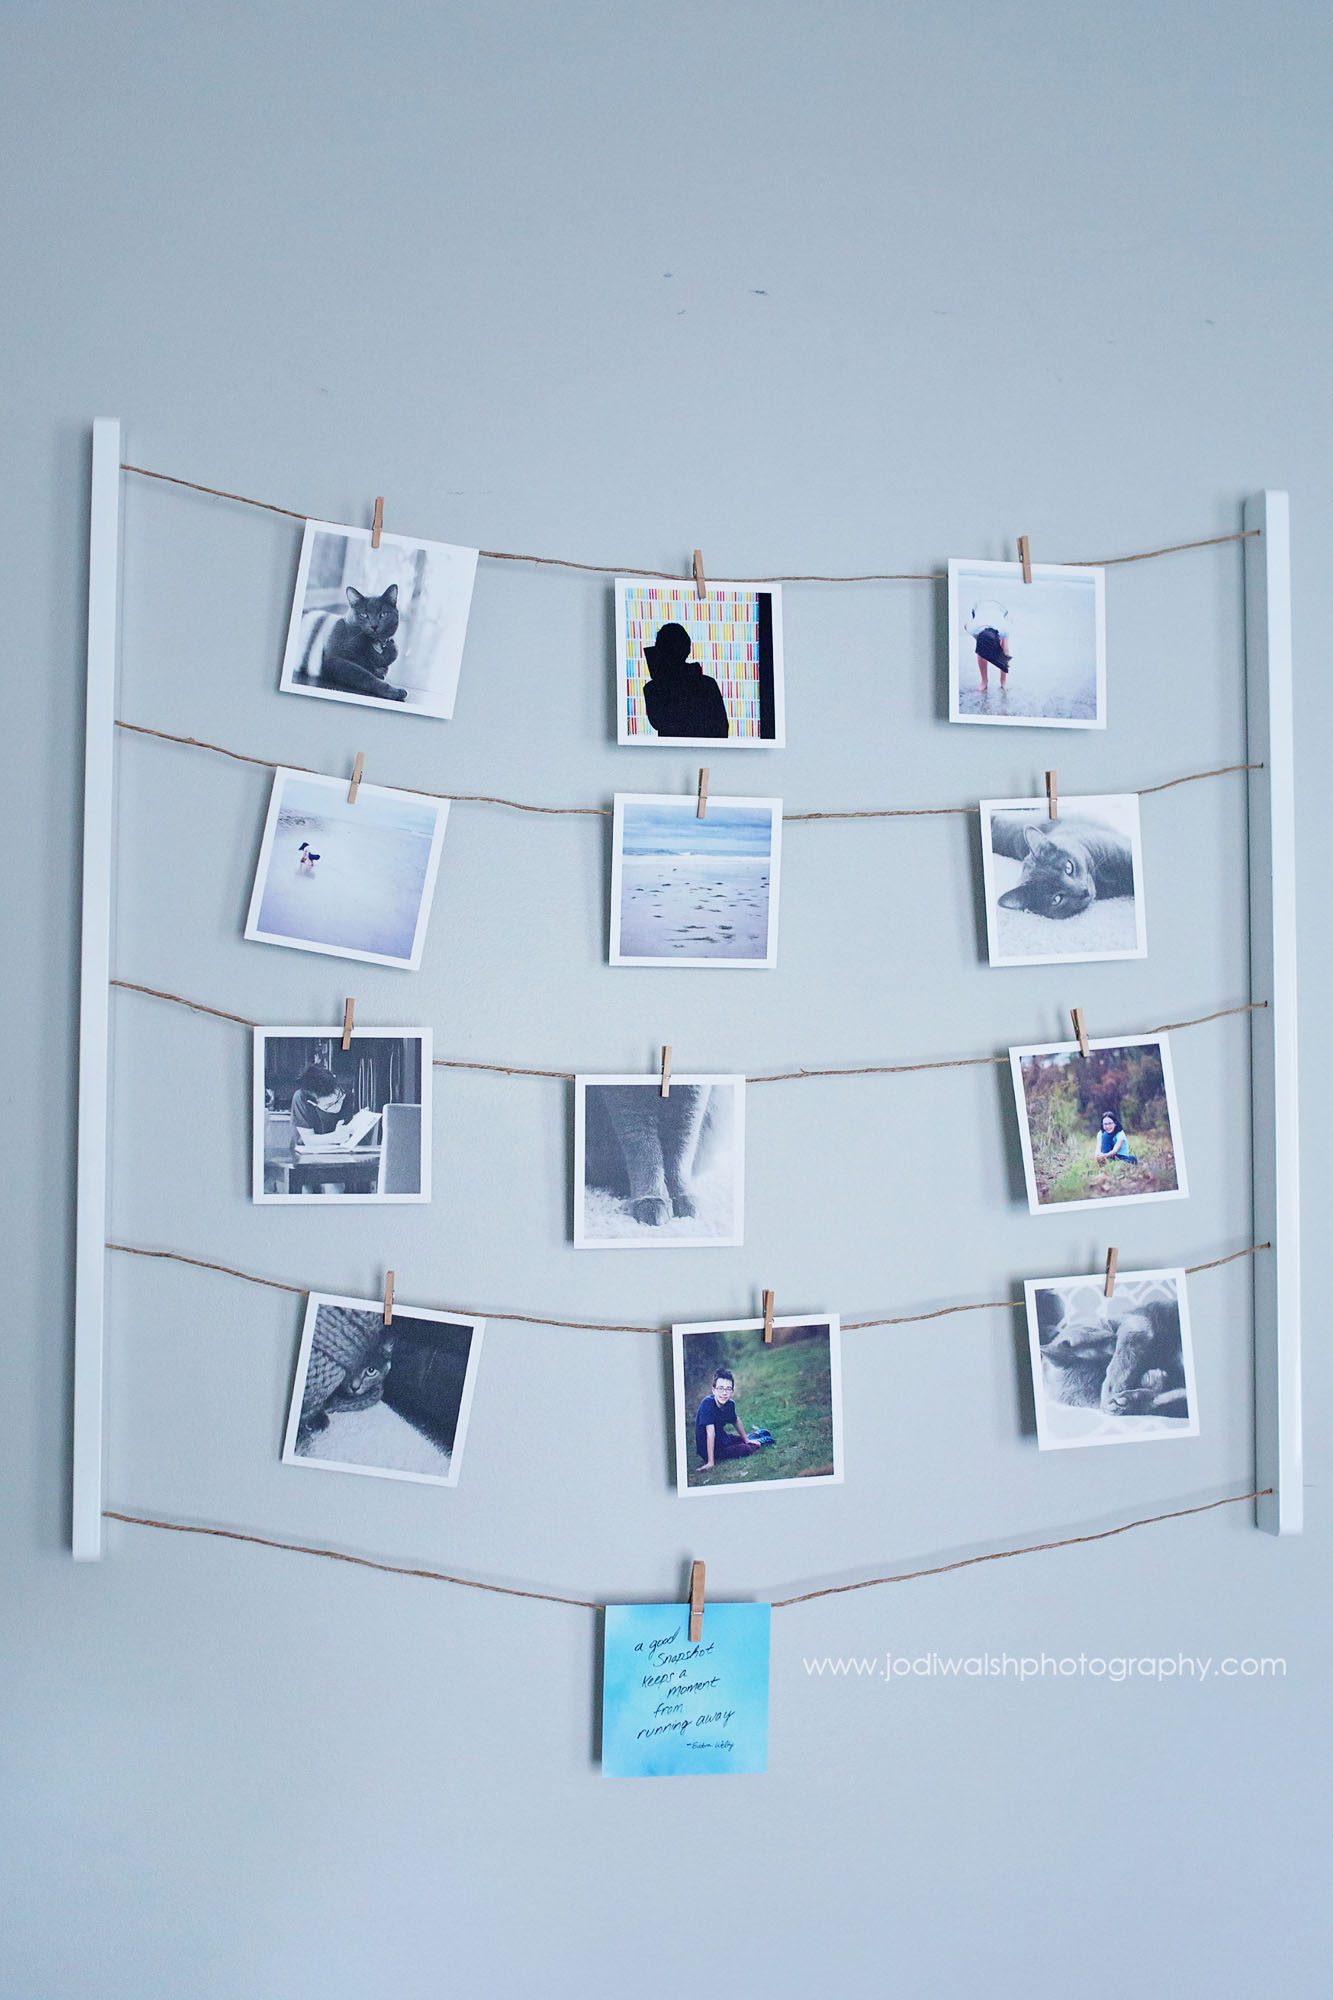
This is a display I picked up at The Container Store last year. It’s been up on my wall for quite awhile, mostly empty. These Parabo press prints are so reasonably priced that I’ll be able to change out my prints on a more regular basis!
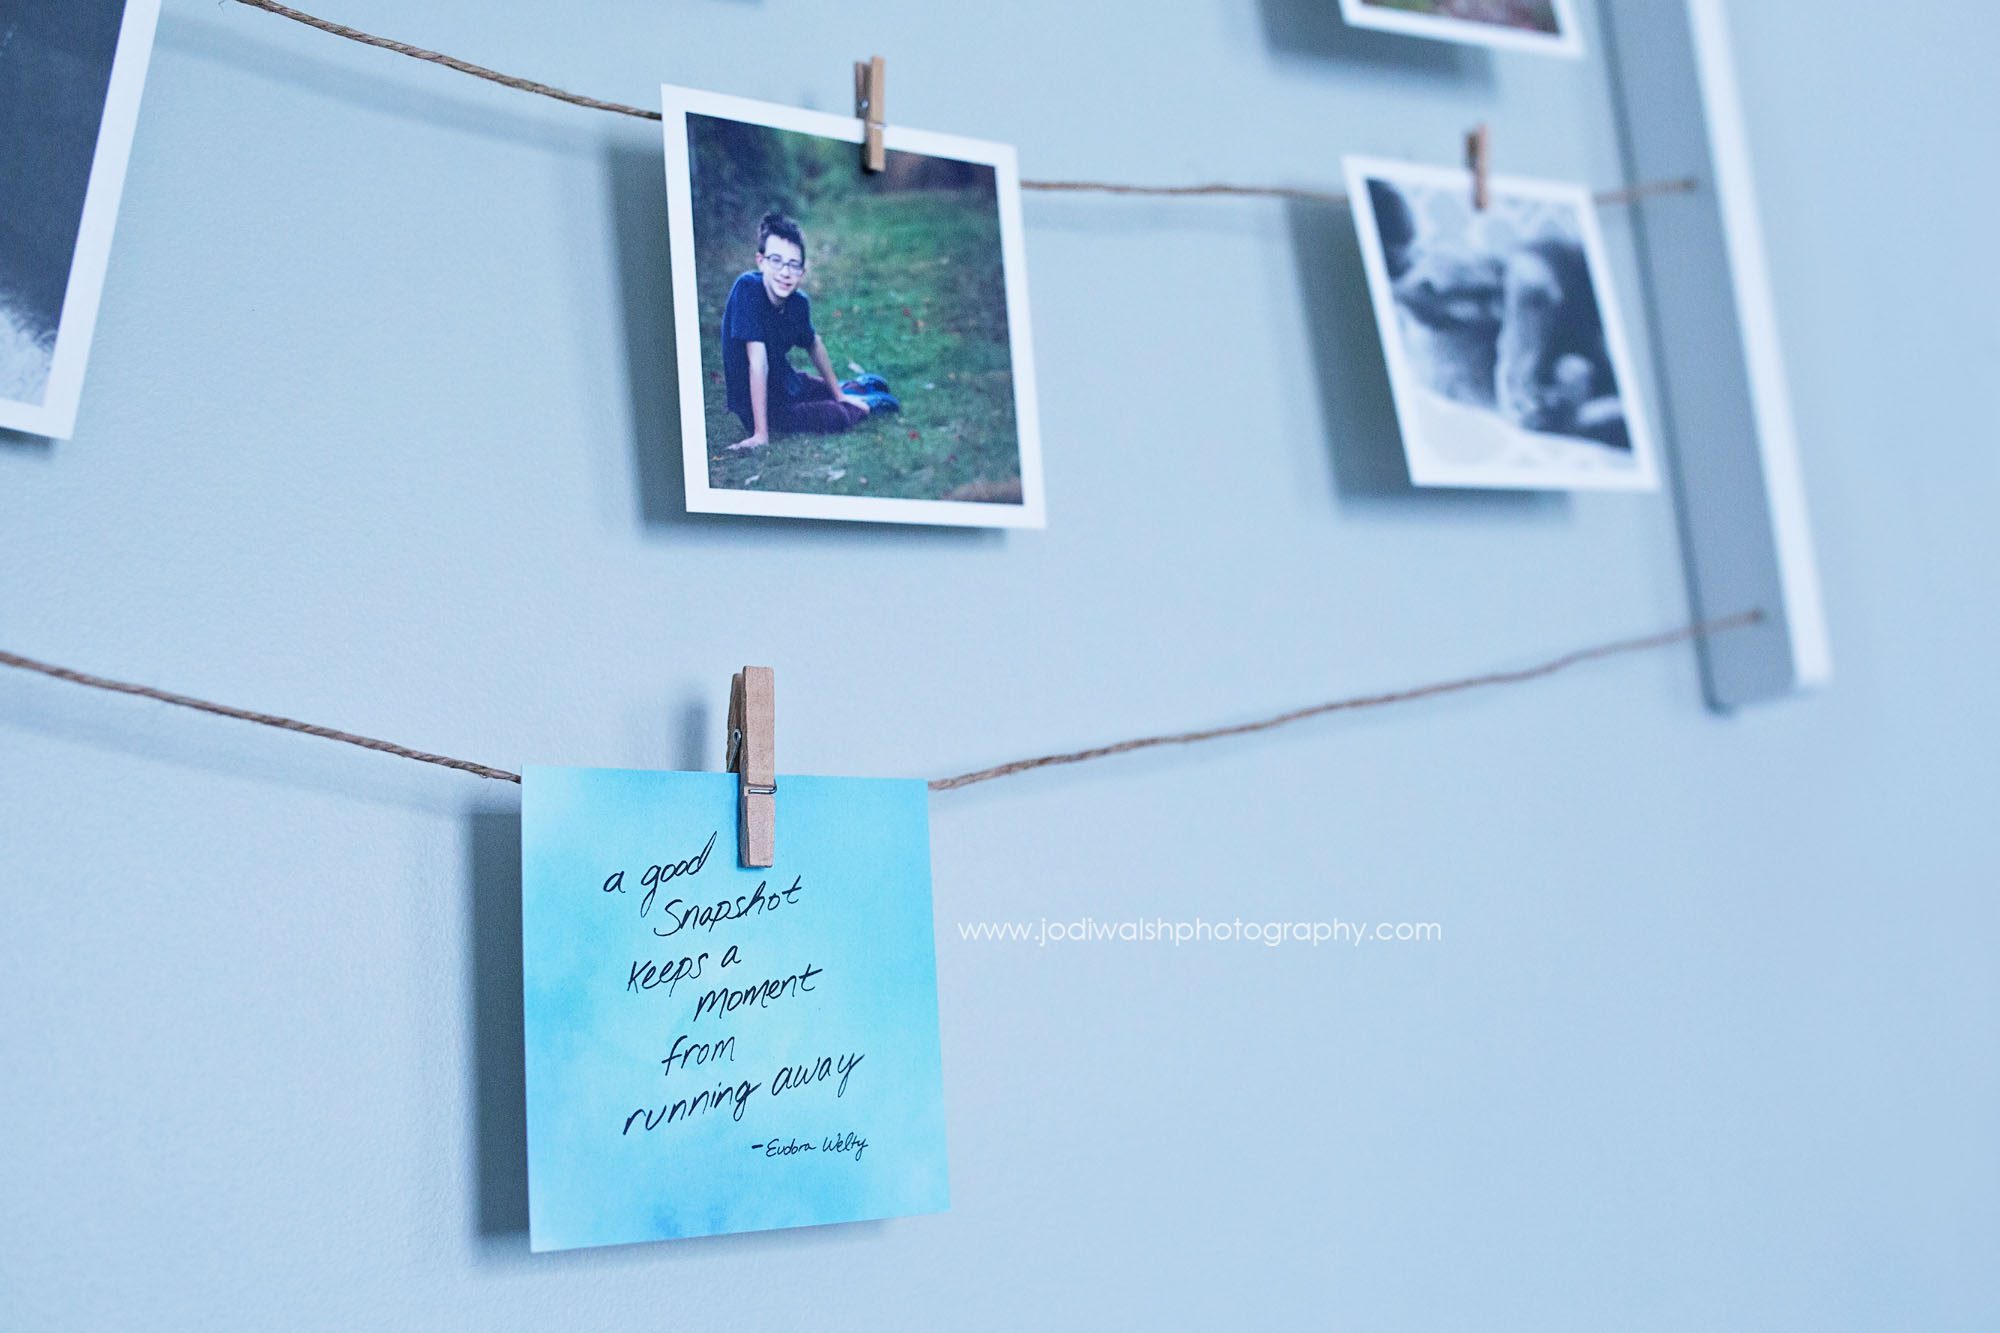
So PRINT those images and then show them off!


