3 Posing Tips to Help You Look Great in Your Senior Pictures
How many of you are excited for senior portraits? Go ahead, raise your hand, this is a big deal! 🙂 Now, how many of you are a bit nervous for your senior pictures because you don’t know how to pose?
Don’t worry! I’m here to help. As someone who gets so nervous in front of the camera, I completely understand where you’re coming from. And as someone who spends so much time behind the camera, I have some super easy tips to help you relax and look great in your senior pictures. For the guys or the gals, these posing tips are easy to practice in front of a mirror, adaptable to make them your own, and having this information will help you to feel better prepared and more relaxed for your session.
1. Say No to Statues
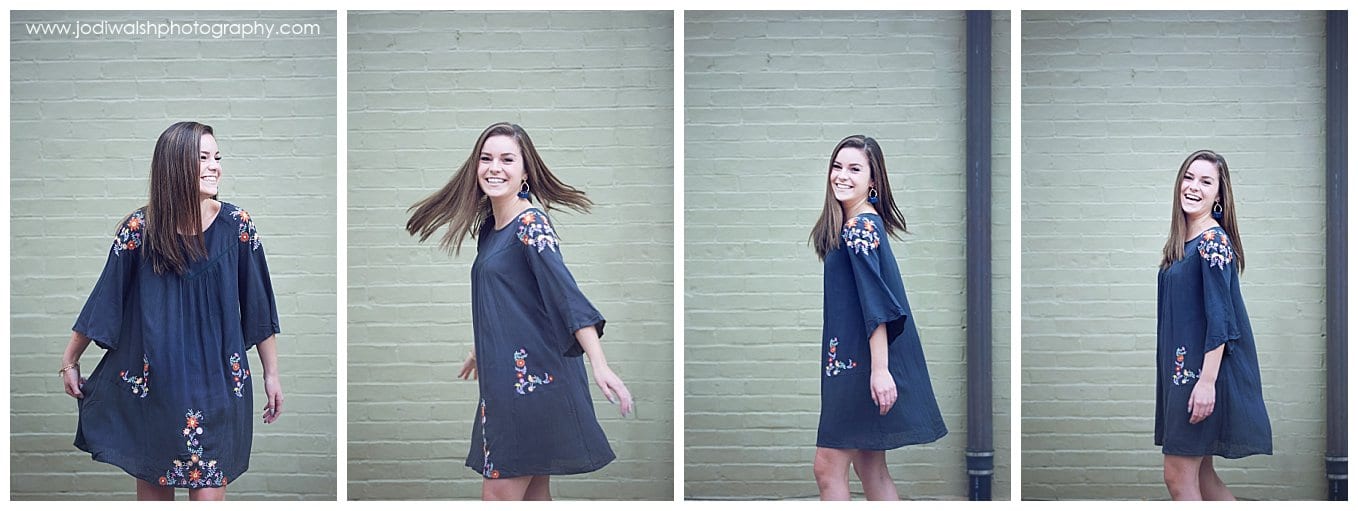
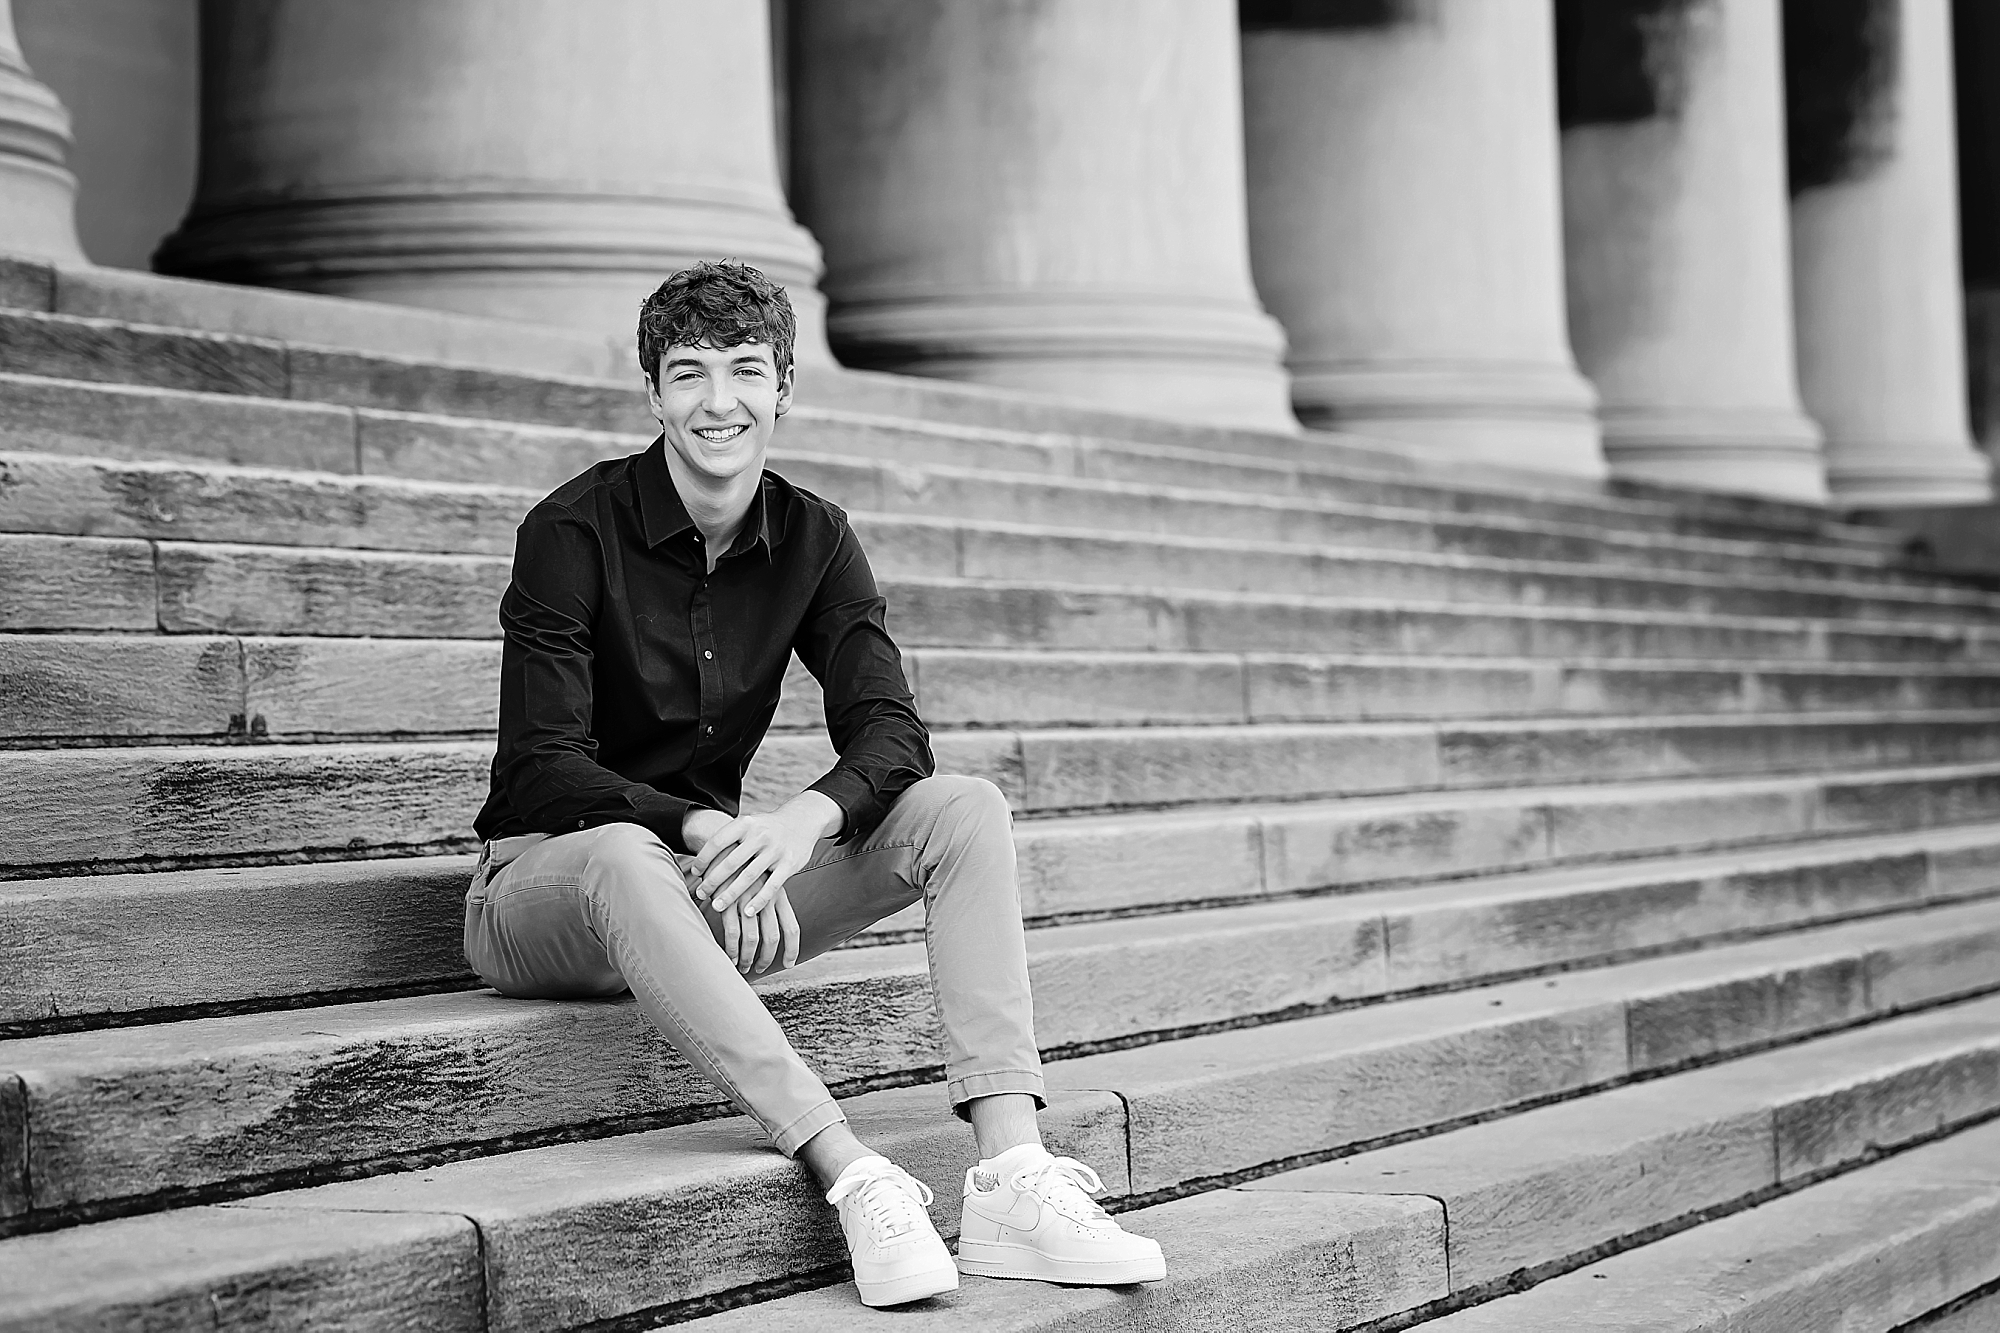
The first way to add interest and help you to relax while posing is through movement. Posing for portraits does not mean standing still. The days of standing stock still while waiting for the camera click are over. Big movements or little movements can help in a couple of ways. First, movement adds motion and interest to your images. Second, when you are moving, you’re more relaxed and that will show in your portraits.
steps
twirls
jumps
Movements like these add interest and energy to your images AND help you to relax, breathe, and to release that nervous energy and enjoy yourself.
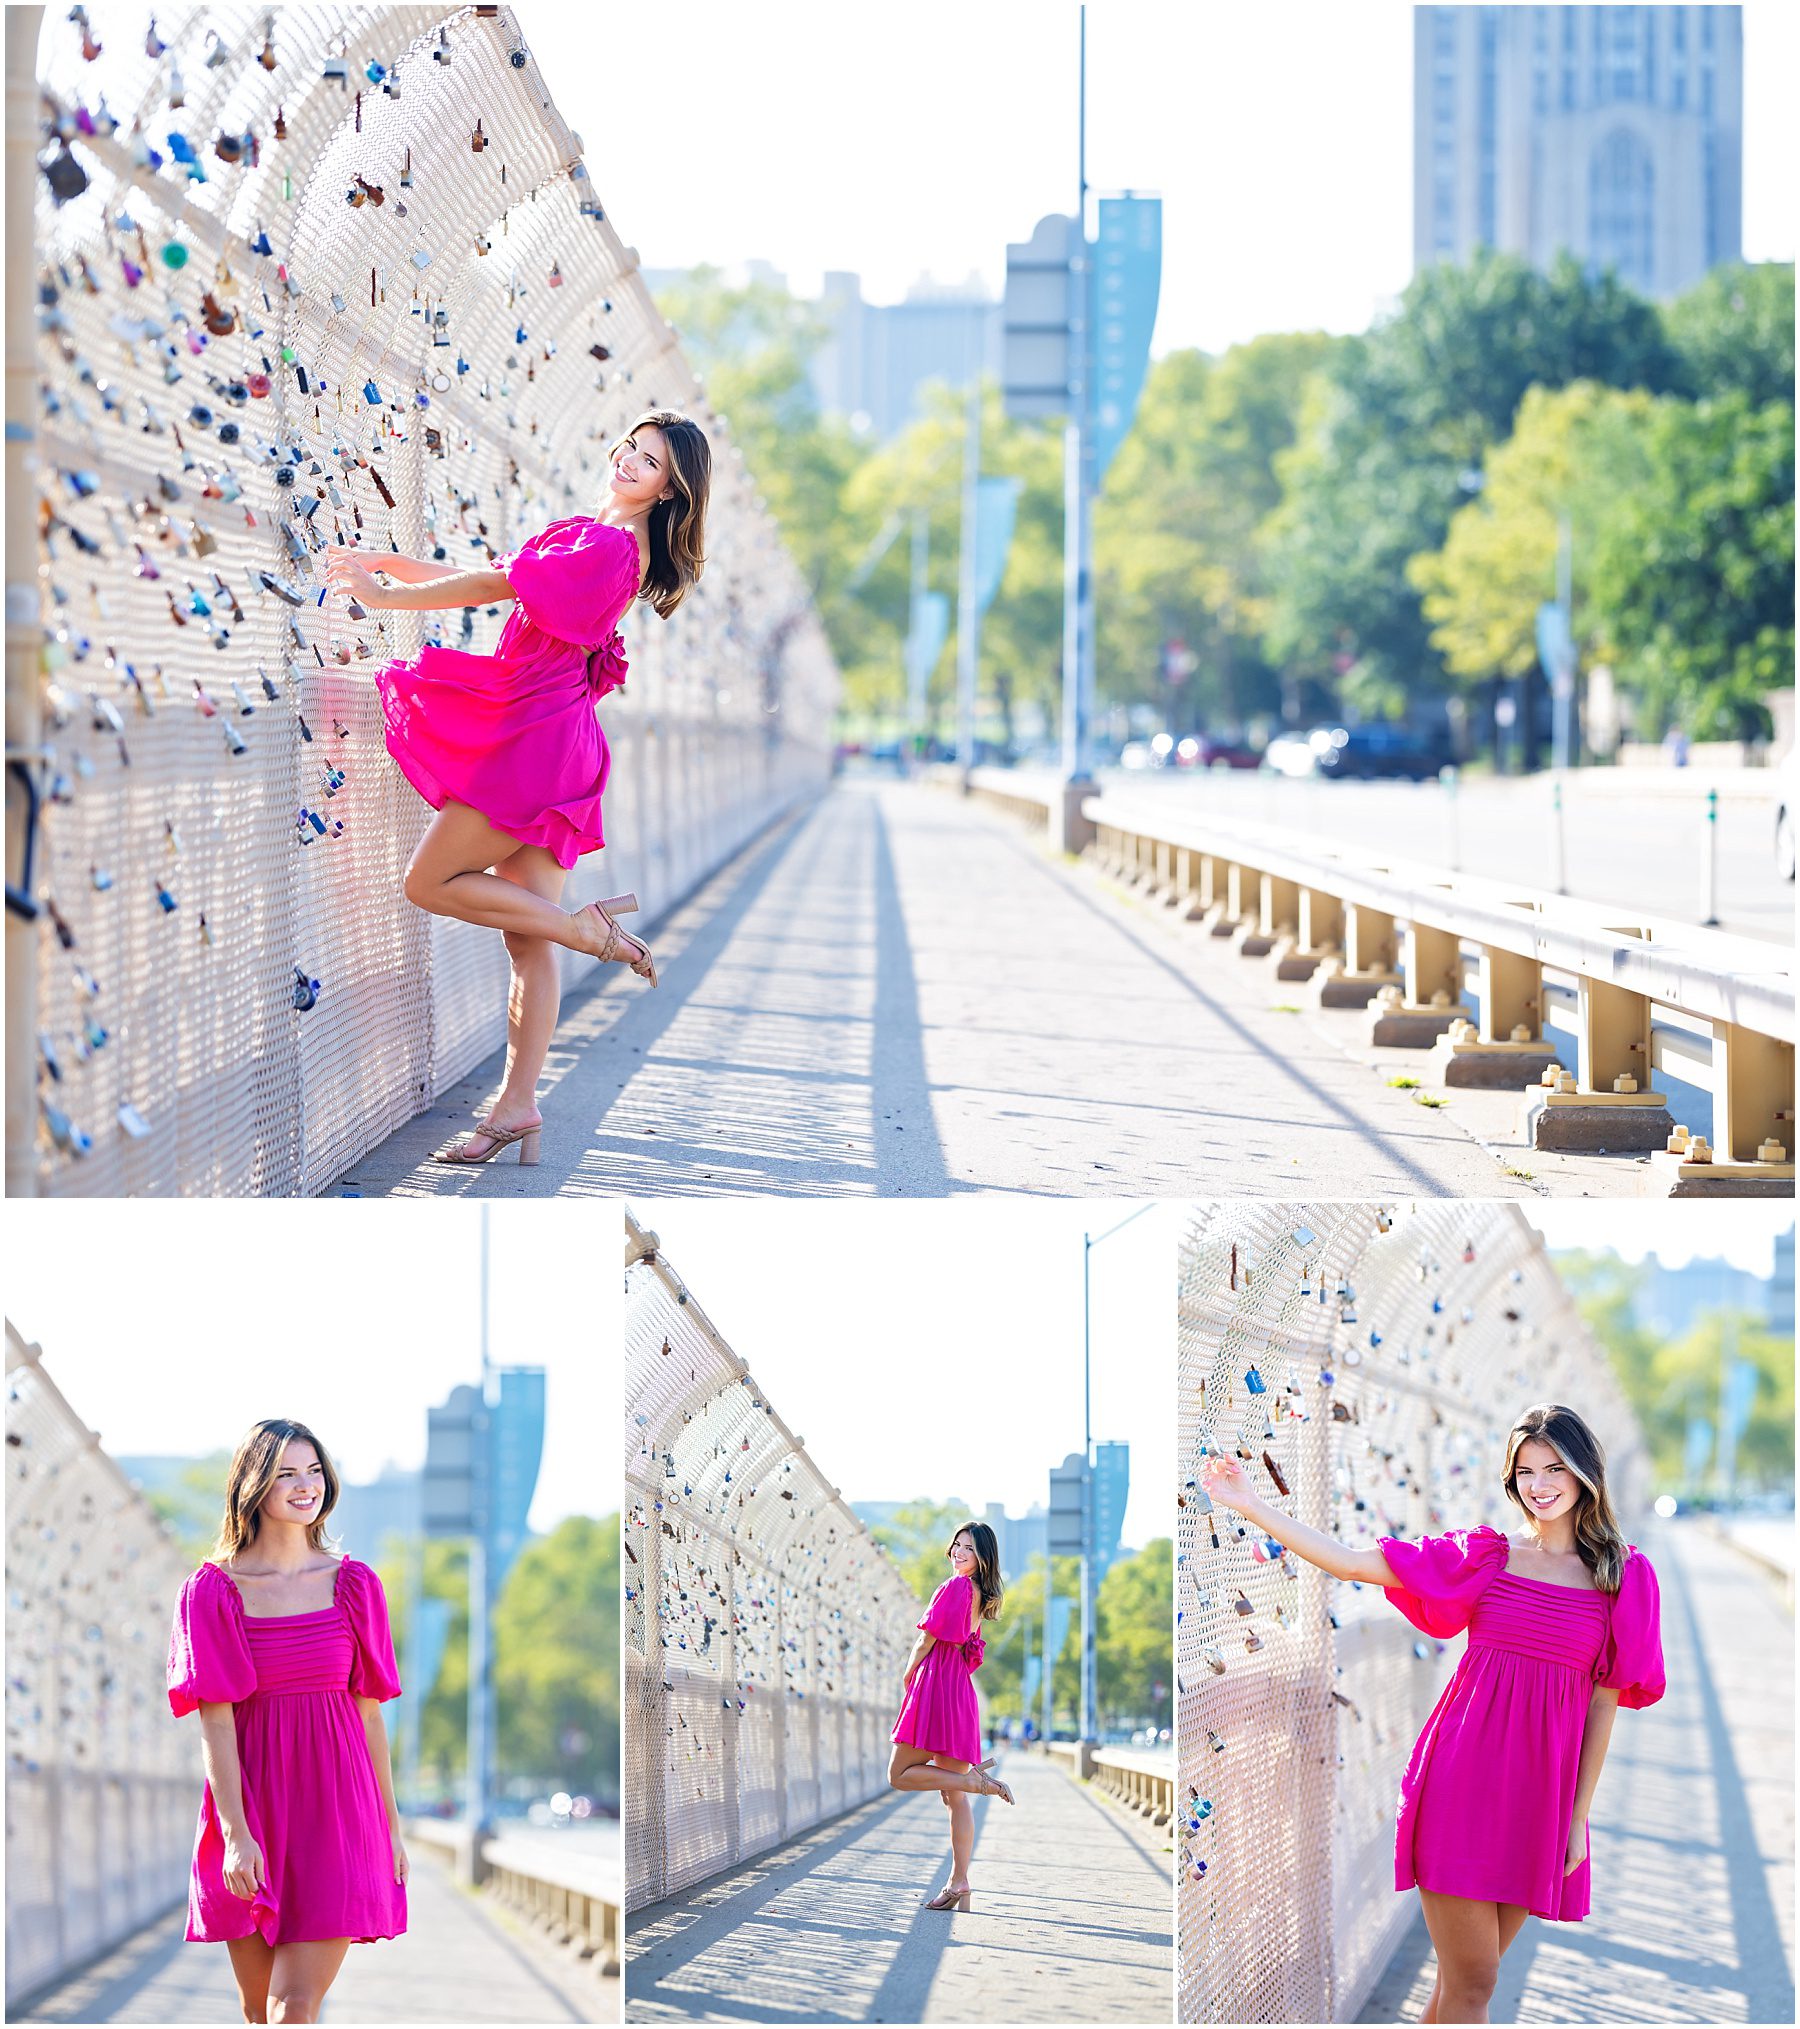
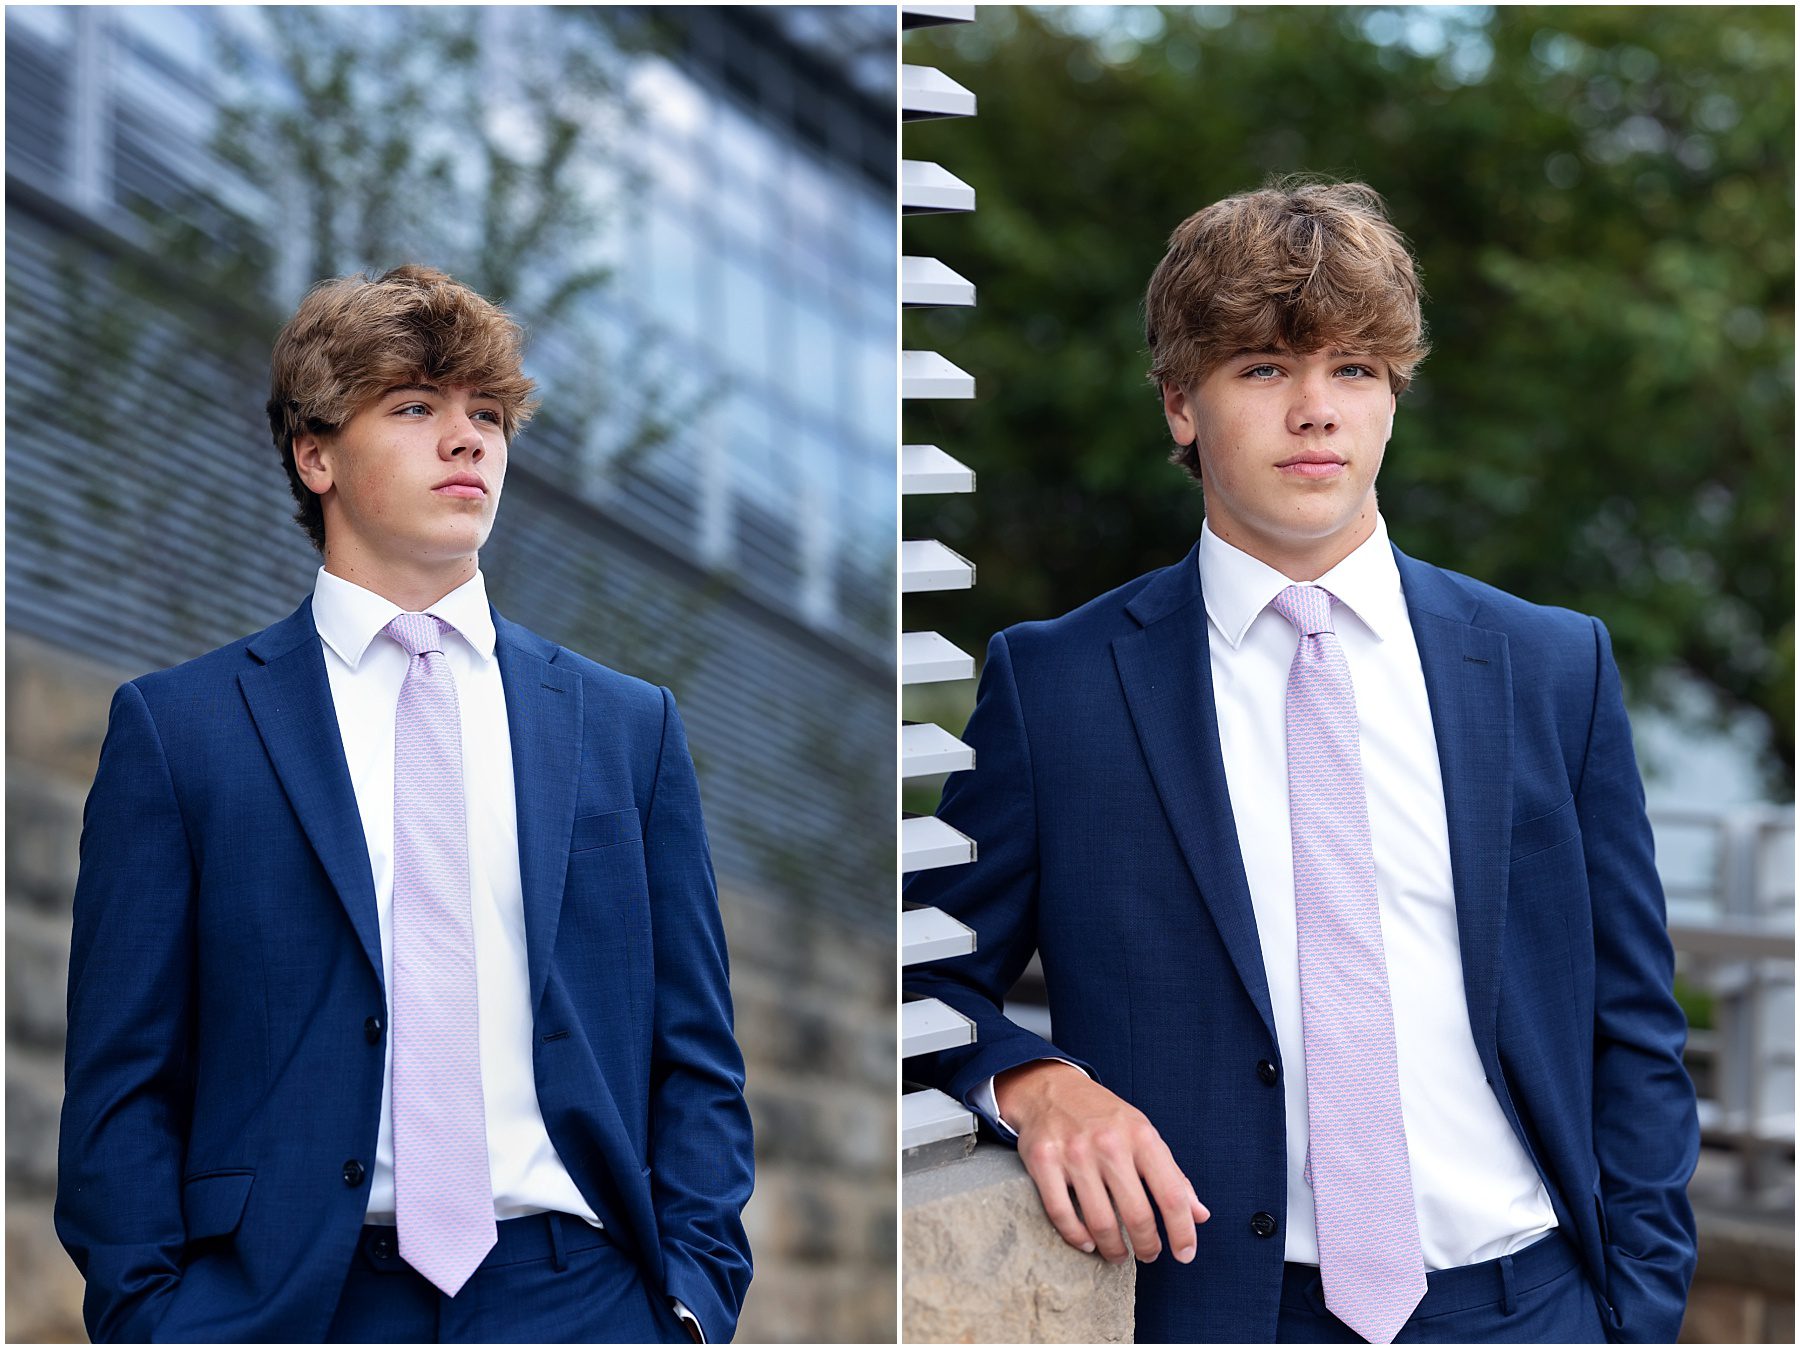
2. Add a Little Asymmetry or If It Bends, Bend It
Our eyes get bored easily. Patterns and symmetry (when things are the same or balanced around a center point), these things are predictable and put our minds to sleep. Adding some asymmetry will not only help you to look better in your images but also make your portraits more interesting. But how do we do this? Movement and bending bits. Taking a step adds asymmetry- one foot is forward, and one is back. Turning your body adds asymmetry too. And if it bends, bend it. Elbows, knees. Use them to break up the balance. If you have one hand on your hip, let the other hang. Girls, pull your hair to one side. Guys, put one hand in your pocket and let the other hang.
Moving like this will not only add interest to your portraits but will help you to stay energized during your session.
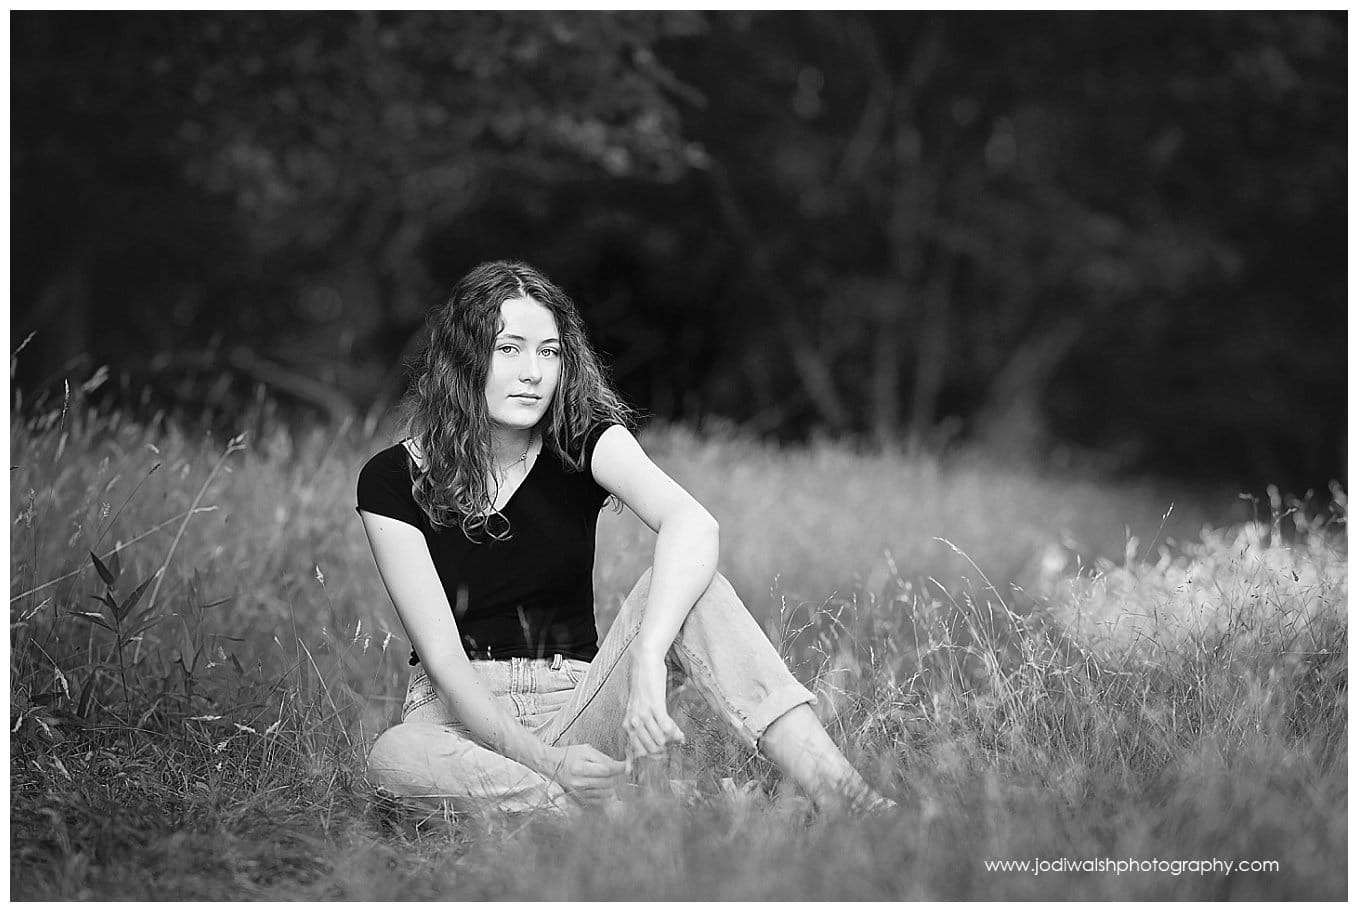
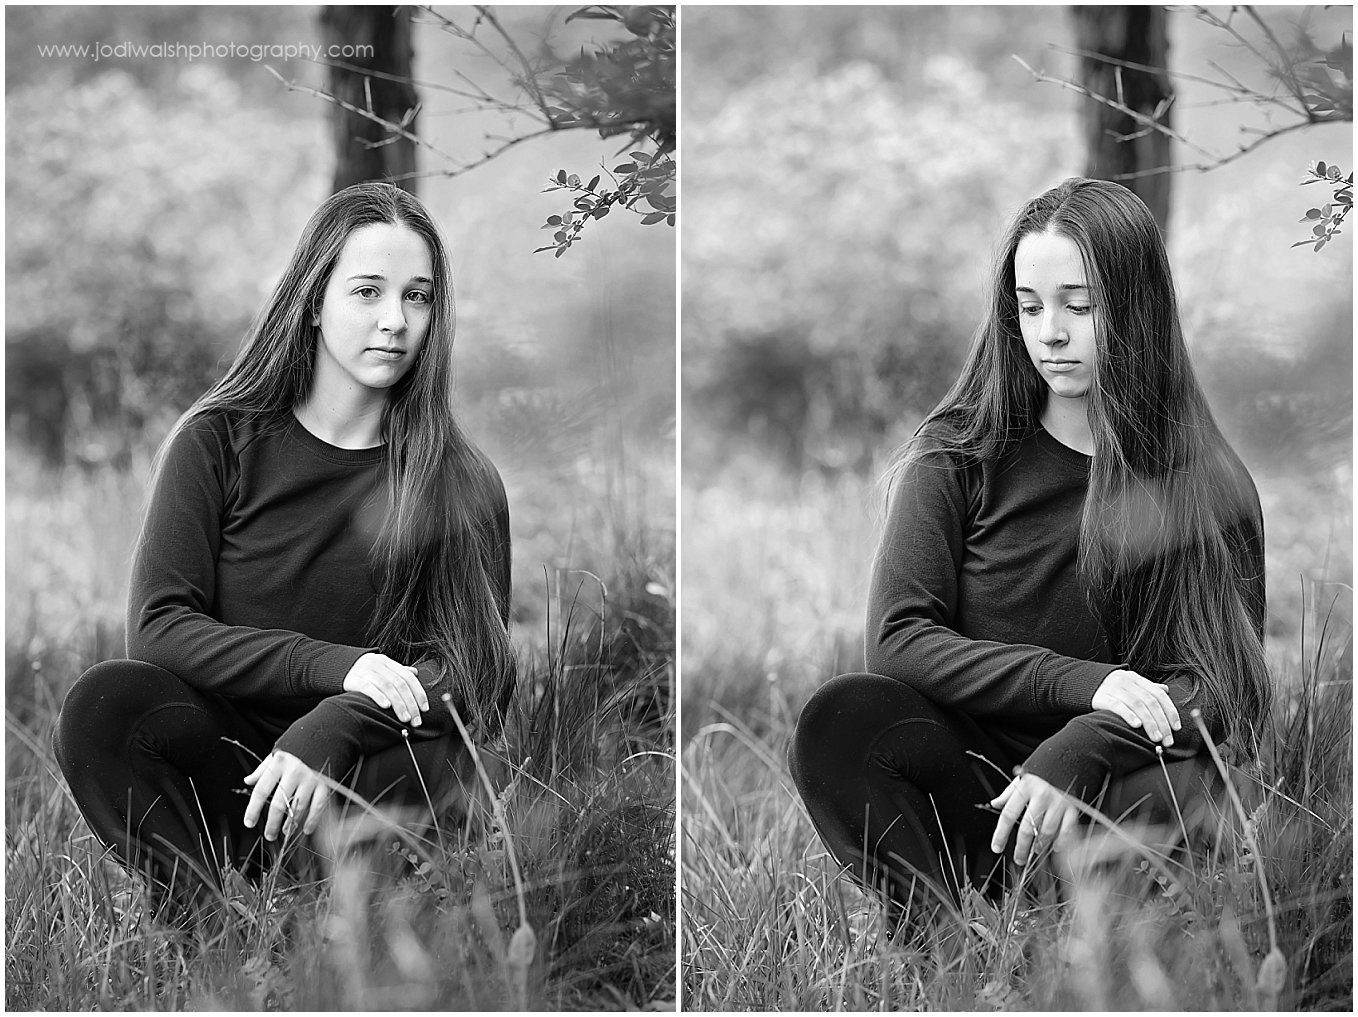
3. You Don’t Have to Smile All The Time or Varying Your Expressions
Moms, dads, and other guardians want to see you smile, especially with teeth. They want those great smiles that reach all the way up to your eyes. Those are the best smiles but smiling for over an hour can be exhausting so plan on adding some variety.
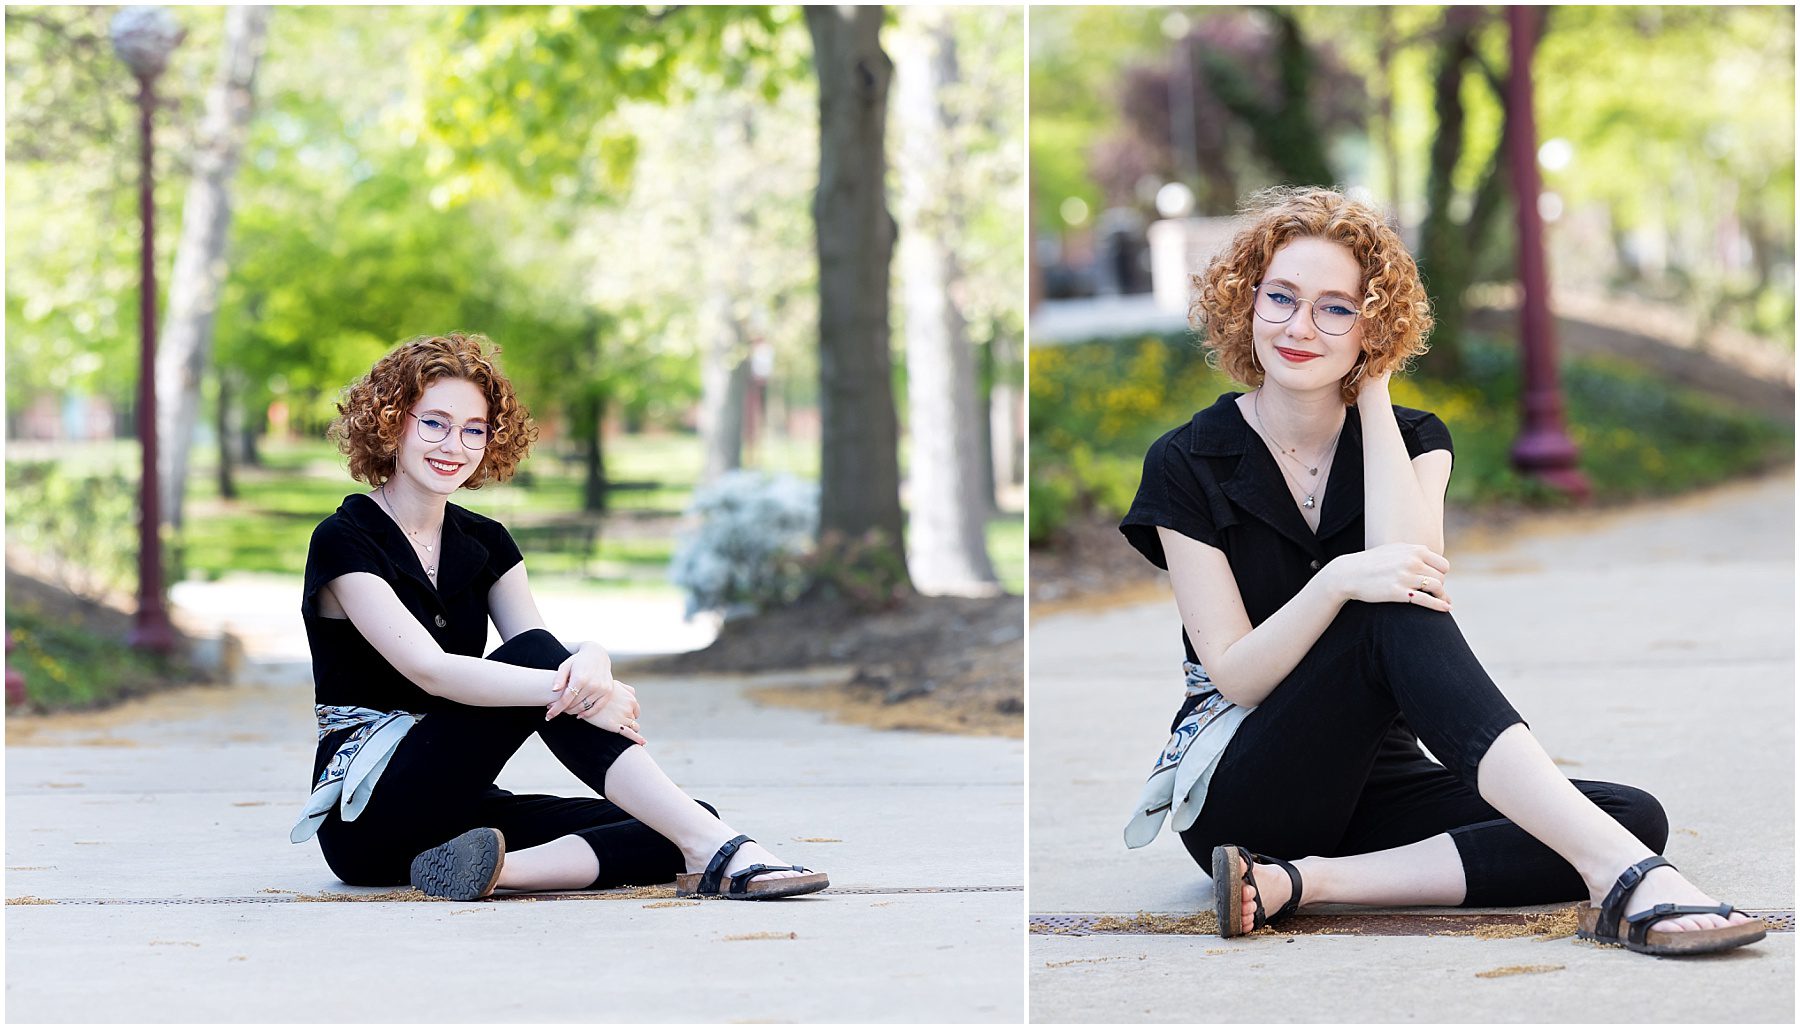
You’ll want to practice this in the mirror or take selfies. Check your neutral face or practice with just a small closed-mouth smile. Try different expressions- laughing, serious, powerful. If you find that your serious face looks more cranky and angry, try it with open arms instead of crossed arms. There are so many different looks when you combine your facial expressions with body movements.
And don’t forget, you can look away from the camera. Looking down or off to one side can also add variety to your portraits.
Hopefully, you’ve found some of these posing tips helpful. Do you have to master them all for great portraits? NO! Give them a try in front of a mirror or with your phone and see what feels comfortable and looks good to you.
And remember, your photographer is there to help. I’ll always give you tips and suggestions for how to look your best in your portraits!
If you’re ready to start scheduling your senior portrait session, check out my page or contact me!


